Typically, moving companies will show up at your house, move all your belongings to their moving truck, and be on their way to your destination. All of the necessary steps such as disassembly, packaging, and labeling your boxes must be dealt with before the movers show up. So, this is where the option of full-service moving comes into play. If you opt for a full-service move, professional full-service movers will handle all parts of your relocation process to guarantee a hassle-free and smooth experience. You do not need to worry about having to package items, safely disassemble delicate furnishings, or even arrange the furniture at your new home.

A full service move is a highly comprehensive package, covering everything from A to Z when it comes to home relocation. With BuzzMoving, you only have to fill out our form and select the full service option to say goodbye to your moving problems.
After you get your free moving quotes and book a service, you can sit back and relax while a group of highly experienced professional movers swiftly arrive at your location. They have all of the supplies and equipment needed to package your possessions skillfully and move them all to your new home or office. BuzzMoving is here to ensure you a smooth transition to your new beginning!
Why it is easier to choose full service moving company
Moving houses is a somewhat challenging process, filled with unexpected troubles and a lot of struggle. There are things to pack, items to handle with caution, and even furniture to disassemble before you can proceed to move it. Not to mention, you have to make sure all of this is taken care of before hiring a truck suitable for carrying all of it to your destination.
Getting tied up in all of these issues leaves you too busy to handle other important aspects of your relocation. You do not want to be stuck thinking of how to dismantle your dining room furniture while trying to move your family to a brand new home. Therefore, it is smart to hire a professional full service moving company and let trained and experienced movers handle this part of the relocation for you.
What kind of services do full service long distance moving companies provide?
No matter how big or tough a job, your relocation is, BuzzMoving will help you find professional full service long distance moving companies full service long distance moving companies all around the USA specializing in full service moves located near you! The following is a list of services that full service movers offer to make your relocation a cakewalk:
Supplying Premium Packaging Materials
No matter the type, every relocation needs packaging materials to cushion the household items during transport. It is very unusual to have the appropriate packing materials lying around the house. Furthermore, it can be unpleasant to go out and look for high-quality packaging equipment in the midst of moving.
Moving boxes, padding for furniture, tape, cushioning – there are many packing items required to move your items safely. If you opt for this service, professional movers will come to your house already equipped with all the necessary high-quality packaging materials to ensure a seamless packing process.
Disassembly of Furniture And Wrapping

If you have any massive or intricate furniture in your house, it can be a nightmare to disassemble and package
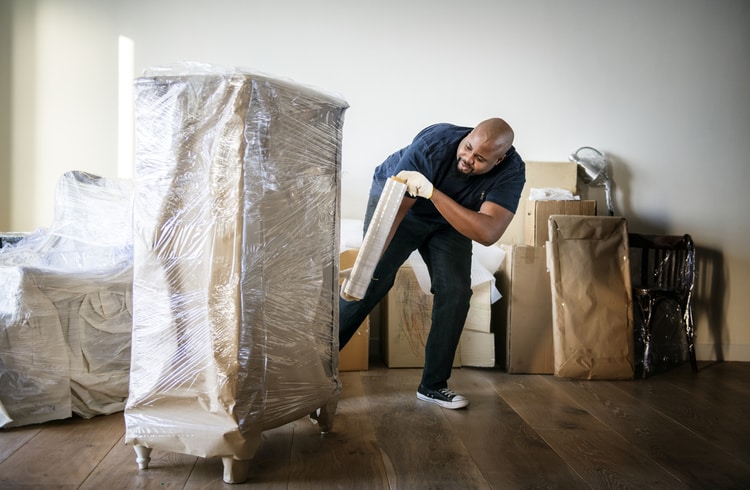
them properly. Do not worry; BuzzMoving is here to help. Our network movers are highly reliable specialists who have the proper training to take apart any kind of furnishing in the house. Furthermore, they make sure all of the furniture is wrapped adequately, and there is padding wherever necessary.
Custom Packaging and Crating
Special or unique household items like expensive oil paintings, antiques, or family heirlooms might require custom packaging. Thus, if needed, a team of seasoned movers will place these items into secure crates, ready for moving. They will then maneuver your cherished valuables around the house and into their truck with skill and vigilance.
Disconnection of Mechanical and Electrical Appliances
The professional full service long distance moving companies in our network have movers who have adequate training and equipment necessary to move appliances safely and efficiently. Dishwashers, washing machines, and even fridges are appliances that contain complex mechanical components prone to damage. These specialized movers take the utmost care when dealing with those appliances, leaving you stress-free and satisfied with the relocation.
Loading the Moving Truck
Save yourself the trouble and leave the professionals to take care of all of the heavy lifting. Trying to hoist and maneuver bulky crates and uneven furniture is a frustrating task that might leave you flat on your back.
So, why not let expert movers handle this for you? This service not only allows you to be hassle-free and focus on more important matters, but it also minimizes any risk of damage to you or your furniture. If nobody else, your back will certainly appreciate it.
Transport
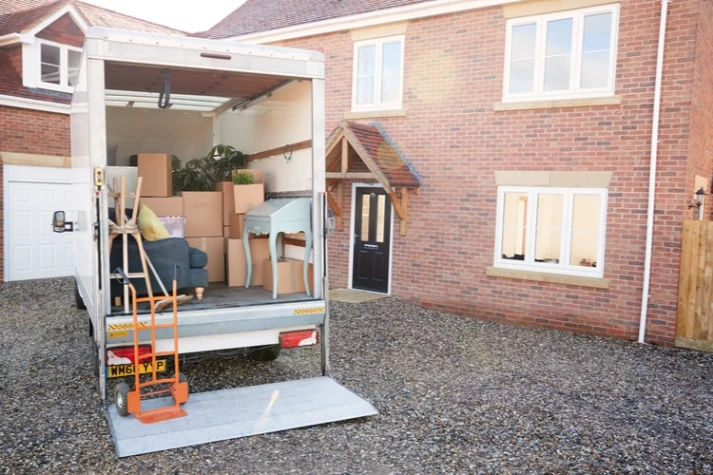
When it comes to moving long-distance, or even locally, transport is a crucial part of the whole thing. Therefore, BuzzMoving provides you with full service long distance moving companies full service long distance moving companies that have licensed, dependable, and insured transporters anywhere around the USA. They will make sure to come with a truck equipped to handle all your needs and ensure safe shipment. You can rest assured and depend on these professionals to take care of all your hauling needs.
Storage
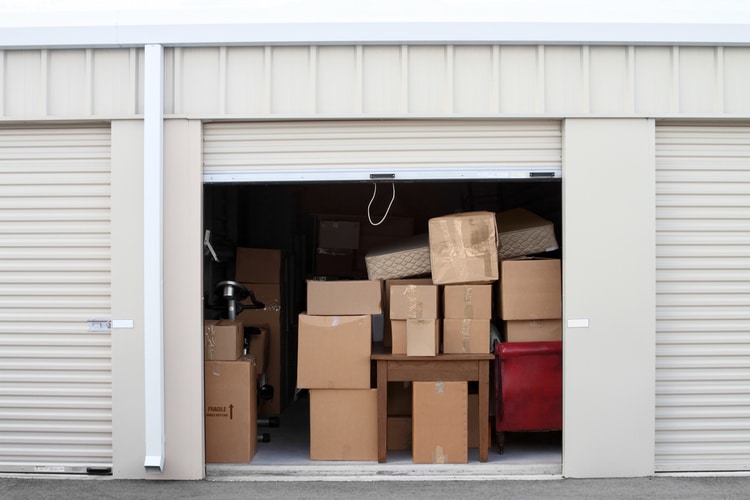
The full service movers in the BuzzMoving network also provide storage facilities if needed. You do not need to hire separate storage for your items. You only need to hire full service long distance moving companies full service long distance moving companies, and they can store a few extra things to everything in your house in a secure warehouse or into self-storage.

Full service movers will then wait for your call to transport and deliver them from storage right into your house.
Unloading
After the moving truck reaches your new destination, the movers will get to work immediately to unload the cargo inside the truck. This service is excellent if you want all your goods unloaded with speed and efficiency, without damaging anything in the process. Full service movers allow you to settle into your new house or office as soon as possible, allowing you to resume your day-to-day faster.
Arranging and Reassembly of Furniture
This is the part where full service movers show their strengths. After the moving truck unloads your furnishings to your new place, you still have to deal with the reassembly of complicated machinery or furniture. Furthermore, you also have to arrange your items neatly in your new home, which takes about as much work as packing them before the move.
Full service movers handle all of this for you and this is also the cheapest way to move furniture. They not only reassemble your prized possessions (such as furniture, pianos, machinery, appliances, etc.), but they also place them inside the house according to whatever instructions you provide.
Unpacking
When relocating to a new house, a common problem is locating the household items after movers transport them.
Nobody wants to spend an hour trying to find the box in which they put something delicate.
Professional moving companies that specialize in full service moving can provide an efficient organizational system to label, categorize and track your items. This allows the movers to unpack everything to its proper place and ensure that nothing is lost and time is saved.
Disposal of Debris
If you are moving houses after a long time, you have probably accumulated a lot of junk and unwanted items in
your home. Typically, you would need to go through the hassle of hiring another company or even renting a garbage container to take care of everything.

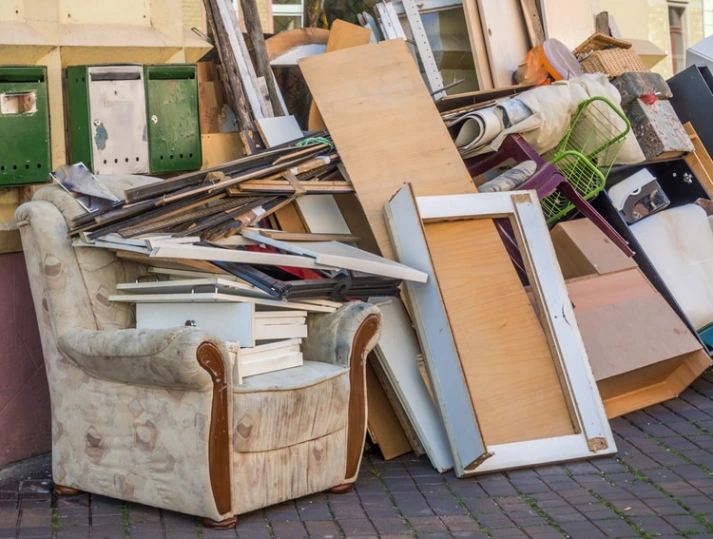
Full service movers will have a debris removal team that will expertly collect and remove any undesirable objects to handle this issue. It is very efficient to have a single company take care of everything from unused and broken furniture or the junk in your closet.
Valuables Insurance
A big part of hesitating to hire professional full service long distance moving companies is the issue of trust. You would want your cherished possessions to be handled with the utmost care and attention.
BuzzMoving can help ensure your peace of mind as the movers in our network provide a valuables insurance service. This means that if any item is damaged or broken during the relocation, the insurance will cover the cost to replace it. Furthermore, if you are moving long-distance (across states), the moving company will be required to provide you
with full-value insurance protection.
What Items Will The Movers Not Package?
Moving companies will work with almost all household items such as furniture, machinery, fabrics, and other typical furnishings. However, there are certain items that even professional full service long distance moving companies full service long distance moving companies refuse to handle.
Some of these things are either too dangerous to risk handling, while others are just a hassle to package and transport. Usually, companies will provide you with a checklist of things that they cannot package, load, or transport.
Given below is a list of general items that most moving companies refuse to move. Our goal is to inform you before the movers show up so as not to get confused by their regulations and cause delays. We advise you to deal with or get rid of these items beforehand.
Unsafe Items
Full service movers will not deal with any potentially dangerous item during a move. We have included a general (but not all-including) list of things to watch out for. Make sure to contact the moving company you are dealing with for more details.
The following items are considered too volatile and dangerous for transport:
- Lighter fluid
- Various types of fuel
- Fireworks
- Paint and paint thinners
- Gas containers (including Oxygen)
- Nail polish remover
Valuables
When it comes to the moving of valuables, different companies have different policies. But it is generally
recommended that you carry items that you consider to be irreplaceable (either financially or emotionally) on
your person during the relocation process.
Here is a list of things that fall under the category of valuables:
- Fine Jewelry
- Family heirlooms
- Pictures or paintings with sentimental value
- Collectibles (this can be cards, figures, action models, etc.)
- Cash or valuable documents (stocks, deeds, securities, bonds, etc.)
Things that can degrade
Movers will package food without any issues, but certain foods are considered “perishable.” These items can break during transit, leak onto other possessions or develop a nasty case of mold in storage. We advise that you either give away or throw out anything in this category.
On the other hand, there is no issue with food that is non-perishable. Such things as canned food, food in sealed
boxes, spices, and even dried foods are all okay.
How Much Does Full Service Move Cost?
The cost of a full service move around the USA depends on a couple of factors. If you are moving locally, moving companies will charge between 60$ to 75$ per hour. So the cost increases along with the time needed to complete the relocation process.
For interstate long-distance moves, professional movers will charge a flat rate. This can be anything between 3000$ to 12000$.
Some additional factors influence the overall cost of a full service move:
The Distance That Has To Be Travelled
The overall distance between your pickup location to your destination impacts the total cost of the operation. As the distance increases, so does the time required to finish the job and the fuel needed for the truck.
If you are making a long-distance move, the moving company needs more time and effort to complete the job. Furthermore, when moving across one or more states, the movers are required to maintain various licenses to operate in different states.
Therefore, the further the company has to travel, the higher the cost of operation.
The Transport Capacity Required For Your Cargo
Your total cargos overall size and weight are central factors in the cost of your move. The greater your household items are in size, the more equipment, labor, capacity, and fuel the moving company will need to complete the relocation. Thus, the more possessions you have, the greater the expenses will be.
The Number of Movers Needed
Based on your final destination and how complex your relocation is, you will need several professional movers for the job. As the company will compensate them for their working hours, the more movers and packers you need for the job, the greater the expenses will be.
The Season During Your Move
The time of the year also influences your cost of relocation. Although Spring and Summer have better weather
conditions for moving, these seasons have a greater demand and prices.
On the other hand, Fall and Winter are the most affordable seasons to move. Prices are especially low during
Winter as there is little demand.
Extra Services That You Might Require
Sometimes, you might require some special services besides the standard services such as packaging, filling up
the truck, delivering, and unpacking. BuzzMoving is here to find you a professional and reliable moving company anywhere around the USA that fits all your needs perfectly.
Please fill out our form to get a no-strings-attached FREE quote today so that you can compare prices and get the best deal available.
Benefits of getting a quote from BuzzMoving.com
BuzzMoving is a one-stop shop for all of your full-service moving needs around the United States.
We have a moving company that can best meet your needs whether you are moving locally, long-distance, state-to-state, or even nationally anywhere in the United States. The following are some of the benefits of having a quote from us:
- A Free and Easy Moving Quote: Our clients can find the whole quote process intuitive. Fill out our form with your details, and we’ll put you in contact with the best movers in your region. There are no responsibilities or commitments.
- Obtain quotes from a variety of moving companies: Not only can we ensure that the movers who approach you specialize in full-service relocation, but you will also be able to compare prices from various moving companies to find the one that best meets your needs.
- Movers are well-trained and have a lot of experience: The BuzzMoving network comprises licensed and experienced moving companies from all over the United States. Employees have all of the requisite preparation and equipment to handle any transfer and the expertise to handle any irregularities.


